Tuesday, July 31, 2012

Winter Garden in Melbourne

Melbourne is back to being cold and grey, but the sun was out a few weekends ago so I took the following photos of our garden. I rarely see the garden as I leave work before the sun rises, and I return after dark so this is proof that there are plants blooming despite the weather!


I bought a birdseed bell to attract native birds, and much to Mum's delight, here are some visitors enjoying a meal.


Monday, July 23, 2012

Crochet Baby Blanket


I dropped off 18 knitted beanies to KOGO a couple of weeks ago and had some left over Panda multi-coloured Magnum yarn that I didn't know what to do with. It is very colourful yarn so what can I make that will be useful and not look too horrendous when combined together?

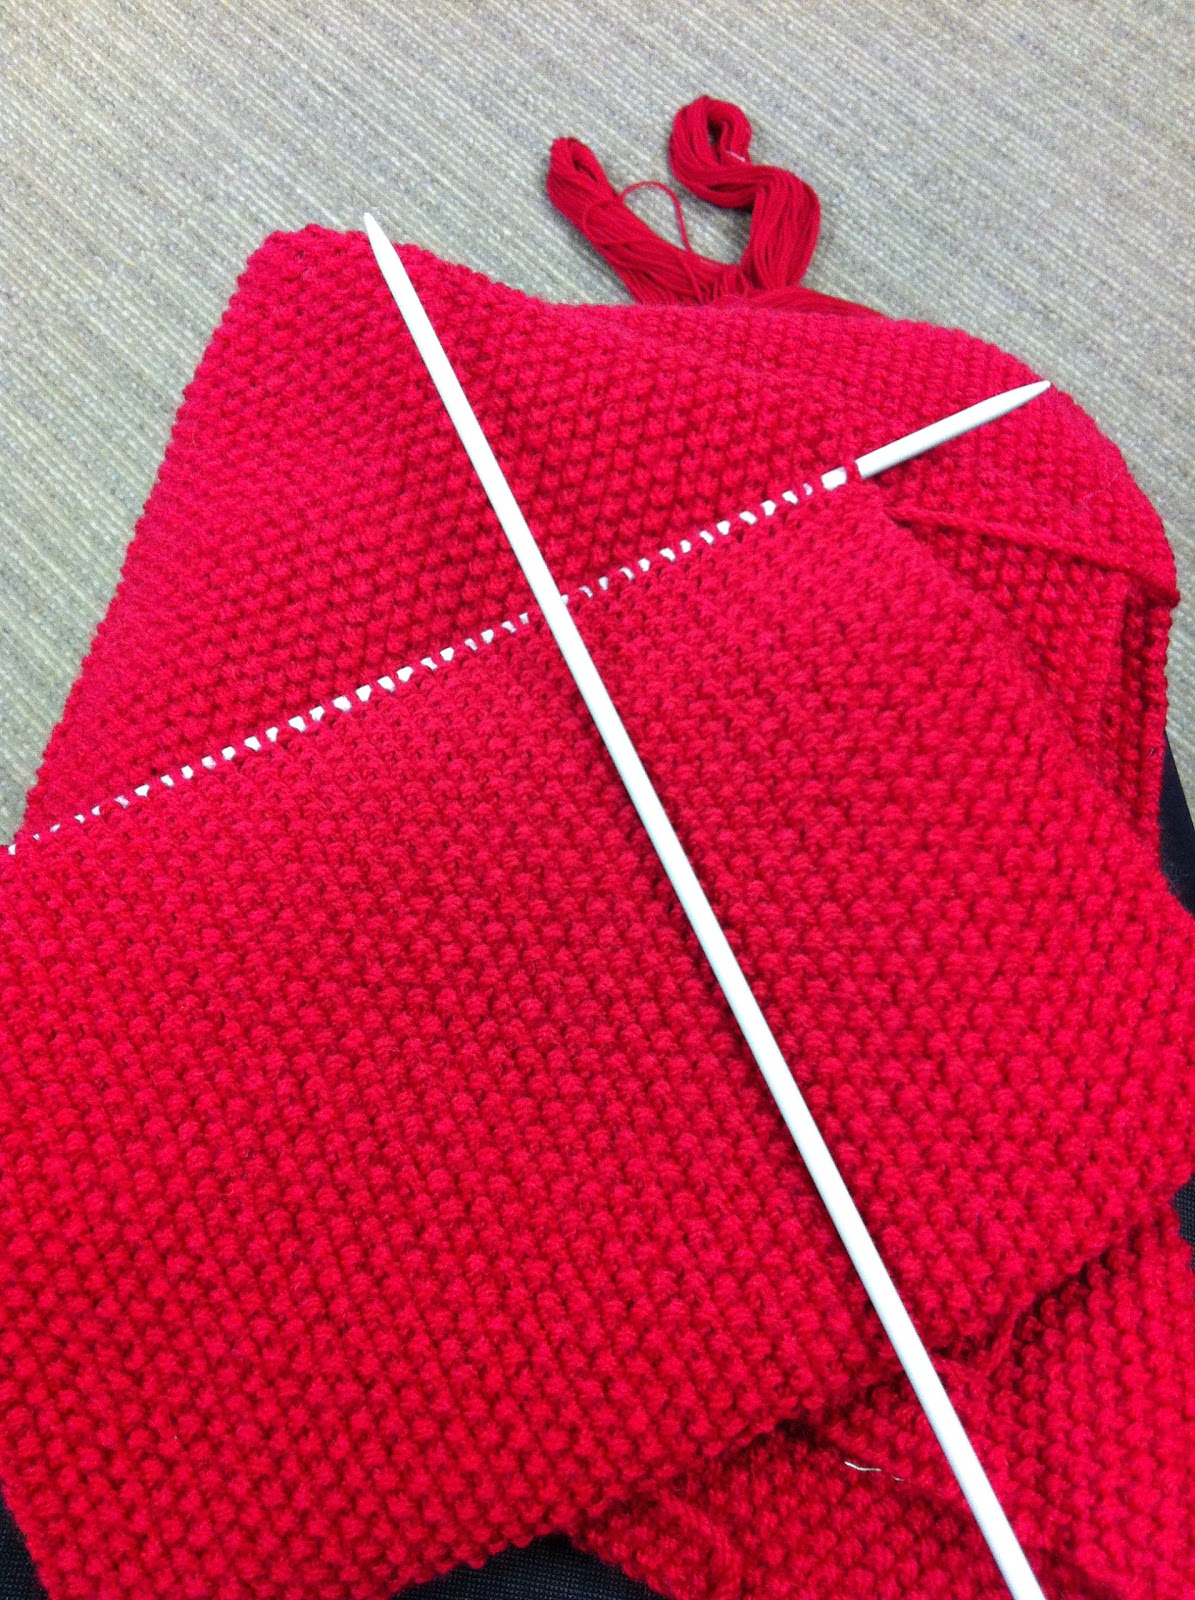
Knitted child size beanies for 2012

It must have been providence as I received an email from a fellow Looped Meet Up member who proposed we knit or crochet children blankets and beanies for a women's correction centre. Many of the women do not have the money to purchase these items for their babies, or simply do not have any contacts on the outside to help them acquire what they need. Regardless of what the women have done, they, like all mothers, want the best for their children and it must be heartbreaking for a mother not being able to provide for their child. It is awful to think that children are not warm enough during our cold winter, so I started crocheting squares straight away to make a small contribution to this worthy cause.


Using a 4mm crochet hook, I crocheted 7 rounds of treble stitch using the colourful yarn (turned out firm and sturdy), and 5 rounds of grey DK yarn (3 balls of 100g) from Lincraft (soft and supple that almost feels like baby wool), which resulted in a 21cm square (opsie it was suppose to be 20cm!). The squares were crocheted together and since I had grey yarn left over, I continued to crochet around the blanket and finished off with a border of the multi-coloured yarn. The finished blanket which took me two weeks to complete, measures 73cm x 93cm. I encourage all knitters and crocheters to make squares - even if it is just one, but when combined with other squares it will be made into a blanket to keep someone warm.

Sunday, July 22, 2012

Business Suit Cross Stitch


It was M, my former boss's birthday last week so I crossed stitched a suit for him since he is rather dapper and impeccably groomed I thought it was a fitting image for his card. I had to shorten the pants and jacket (even though he is tall) for the pattern to fit into the card. The design is from Anne Sohier-Fournel and Sonia Lucano's Pictos, Logos & Autres Tags Au Point de Croix which is filled with 800 wonderful patterns...so I have 799 more motifs to stitch?!

Monday, July 16, 2012

Origami Dress


I was inspired to make an origami dress (or two, three, four... I can't stop now) after reading A Spoonful of Sugar's blog post recently. I watched NoorInaya's step by step instructions on YouTube and felt warm and fuzzy that there are so many creative people around the world who are willing to share ideas. My origami paper is from Daiso and measures 15cm square.

Step 1: Fold the paper in half (with wrongs sides together) making a crease in the centre of the paper.
Step 2: Fold the two edges towards the centre crease that was made in Step 1. You should have 4 equally spaced creases on your paper. Lay your paper flat with the right side up.
Step 3: With the creases at length wise, fold the two creases made in Step 2 towards the centre fold.
Step 4: With the wrong side facing up, fold the paper almost in half, leaving a gap (in this case 1cm) from the edge. This fold determines the length of the dress hence you can vary the size of the gap. You now have a long (skirt) portion, and short (bodice) portion.

Step 5: Make a 1cm pleat in the short portion which determines the length of the bodice (see photo).
Step 6: Place the paper right side up with the bodice portion on top. Flaring the skirt is a bit tricky ~ grab the outer edge of the skirt portion and make a fold as far as you can. The centre should have three triangles.
Step 7: Fold a "v" shape triangle on the bodice portion . This is to make a crease only hence unfold the "v" flap.

Step 8: With the wrong side of the paper facing up, fold open the creases to form two triangles on each side (see photo). Note two rectangle on each side.

Step 8: Fold the two rectangles towards the centre and form two triangles at the "wasitline" of the dress.
Step 9: Make a sharp fold from the "wasitline" towards the bottom edge of the dress.

Step 10: To make the sleeves, take the 2 rectangles made in Step 8 and fold as per the photo. This sleeves fold can be varied  to make different sized sleeves.
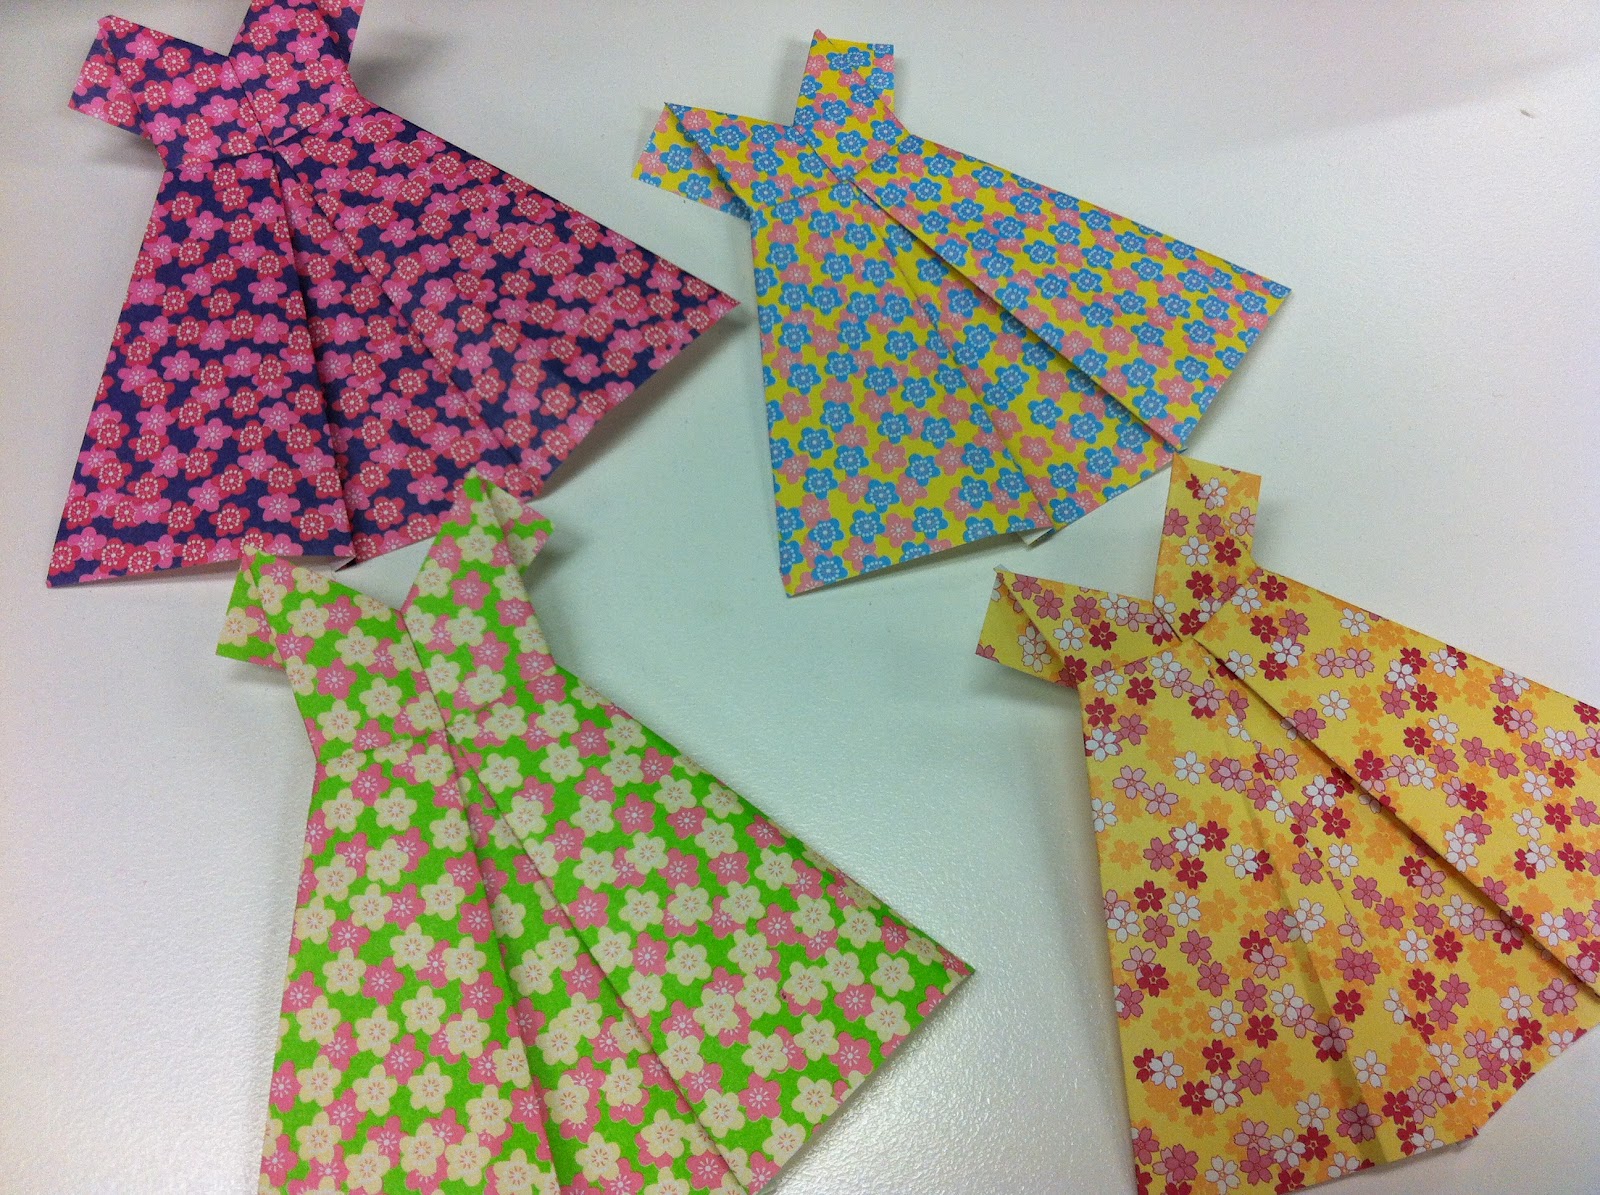
Dress complete! I've embellish my dresses with ribbons and rhinestones.


Friday, July 6, 2012

Moss Stitch Scarf


I started knitting this scarf soooo many years ago that I don't even remember when I started it! I think I need to date my projects so I keep a record of my UFOs (UnFinished Objects) so I will be riddled with guilty to complete them.

I used Bendigo Woolen Mills' Colonial 8 ply yarn in Cherry which has since been discontinued. I bought two "hanks" of 200 grams, because I didn't know what a "hank" was (now I know, and even though it has a lovely twist, I'll be sticking to balls of yarn instead!).

I used 4mm needs and casted on 50 stitches following a moss stitch pattern. I have used about 320 grams of yarn (the rest were used to make my crocheted granny square blanket), and the scarf measures 21.5cm x 150cm.

Row 1: *K1, P1 (repeat from *) [end with P stitch]
Row 2: *P1, K1 (repeat from *) [end with K stitch]

Perseverance (and guilt) pays off so now I get to enjoy my lovely red scarf at last!